Building Bots Using Microsoft Bot Framework and ASP.Net Core 2: Part 1- Introduction and Setting Up Bot Development Environment
Time to Read: 7 minutes
Introduction
This is first part of the series that I have planned on writing on creating interactive chat bots using Microsoft Bot Framework. I will try to cover all aspects of bot development in this series and later on I will try to cover the continuous integration and deployment for the bot and how we can use it to automate the bot deployment. That being said let us dig right into the topic.
What is a Bot and Conversation as A Platform?
We live in a world which has become a global village and everybody has lot of facility at the fingertips due to a very fast and developed internet. Customers of the product today expect quick way to the information they require and a quick resolution on their issues. In such cases when a business try to go through the normal way where the customer care executive answer the queries of customer personally is becoming difficult. So there is a possibility of automation of some of these tasks by putting an chat bot in front of the customer care executives. A bot which can understand what the consumer requires and can answer and solve basic queries of them. If the queries are to complex for the bot to answer, it can then transfer the queries to the customer care. So it becomes easy to provide a quick resolution with reduced turn around time. In short bots are providing ways for the customer to converse with the product suppliers through a interface which is driven based upon a conversation instead of a conventional click and select websites and applications. This new way of solving customer issues by using a work force of humans and chat bots is paving a way to what is termed as Conversation as A Platform.
So this begs a question. What are bot?
It is simple, bots are applications which do not have a standard GUI like a website or application, but rather rely on performing tasks by conversing with the user. This way user gets a more human experience while interacting with the applications for their needs. Bot rely on gathering information from user in a conversational format, understand what the user wants and then reply back with a proper answer. In case of standard applications, the user navigates from one page to another through bread crumbs or links and they have to select what they want, in case of bots, that is not the case, in case of bots user direct the flow of conversation the way they like and the bot with some intelligence can handle this. But this becomes troublesome when the user diverts from the conversation and keeps on asking random questions.But then again there are some pros and cons to using bots.
Microsoft Bot Framework and Service
Microsoft Bot Framework is an open source framework that can be used to build chat bots using langauages like C# and javascript, python etc. This framework is supported for .Net as well as .Net core 2.0 (with version 4 of Bot Builder SDK). The bot builder sdk makes it very easy to design the bots as most of the work like management of the flow, tracking of variable and session values is done behind the back by the framework. It enables the developers to concentrate on more pressing points like figuring out design patterns, working out what forms of intelligence needs to be put in the bot and the way the bot should progress through conversations. The Bots created with this framework can be hosted on Azure using App Service Plan or using Azure Functions as serverless entities. These bots can be integrated to various channels like Skype, Facebook Messenger, KIK, Slack etc so that they can provide seamless and easy ways to users to communicate with the providers.
Thus the bot framework governs the code and runtime of bot and the Azure Bot Service (where we host the bot) will govern the authentication and message flow to the channels.
In this series of post, I am going to use Visual Studio 2017 Community Edition as my IDE and I will work on .NET core framework while building the bots. So without further ado, let us start looking at how to setup the environment.
Let Us Begin
Bot Builder SDK v4.0
Bot Builder SDK version 4.0 is still in preview. The latest stable version of the bot builder sdk is v 3.16.0.38344. We will use version 4.0 in our samples here on as it will give a chance to test the sdk out. Plus it has lot of features which are fun to implement.
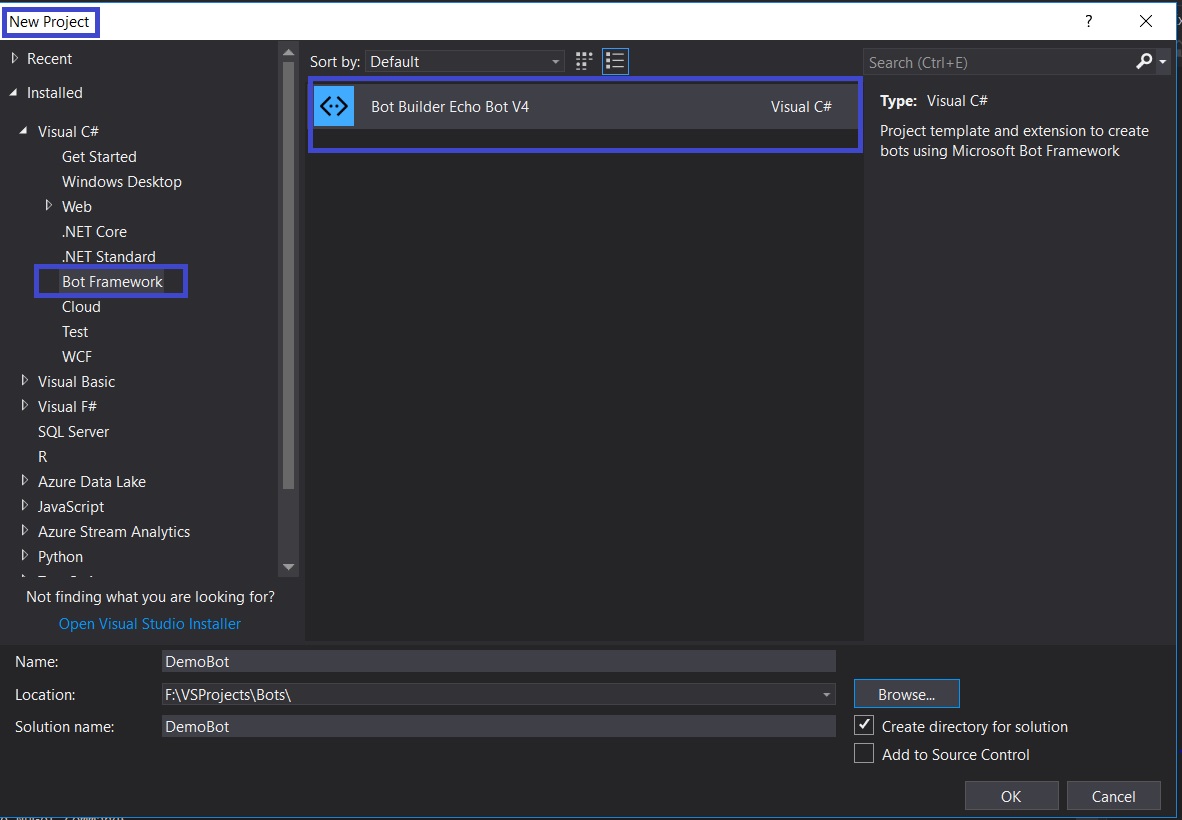
In order to create our bot projects, we will install the bot project template for visual studio from the visual studio market place(Bot Builder V4 SDK Template for Visual Studio)

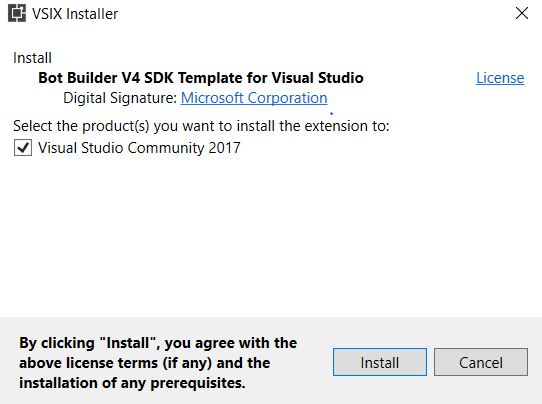
Once downloaded, double click on the vsix file.
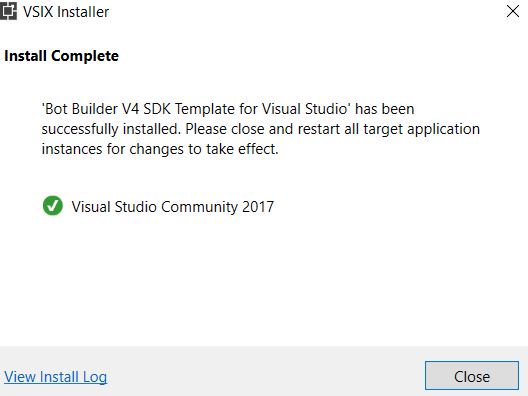
once completed the installer will let us know
Now let us open the Visual Studio and check if the template appears in our project list. Yes it does, it can be found as follows
Now let us see the artifacts created in the solution and let us take a look at each of the class that is generated.
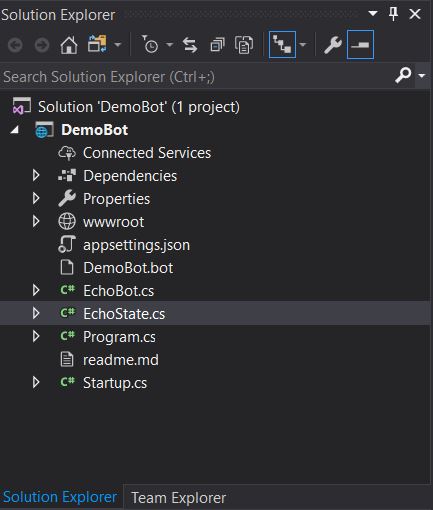
Let us take a look at each of the classes genrated.
EchoBot.cs
public async Task OnTurn(ITurnContext context) { // This bot is only handling Messages if (context.Activity.Type == ActivityTypes.Message) { // Get the conversation state from the turn context var state = context.GetConversationState(); // Bump the turn count. state.TurnCount++; // Echo back to the user whatever they typed. await context.SendActivity($"Turn {state.TurnCount}: You sent '{context.Activity.Text}'"); } }This is the main class of the bot which handles the messages sent from and to the bot.It checks if the activity received from the bot interface is message then, it will get the current state from the EchoState class and increments it and then sends out the current state to the user.
EchoState.cs
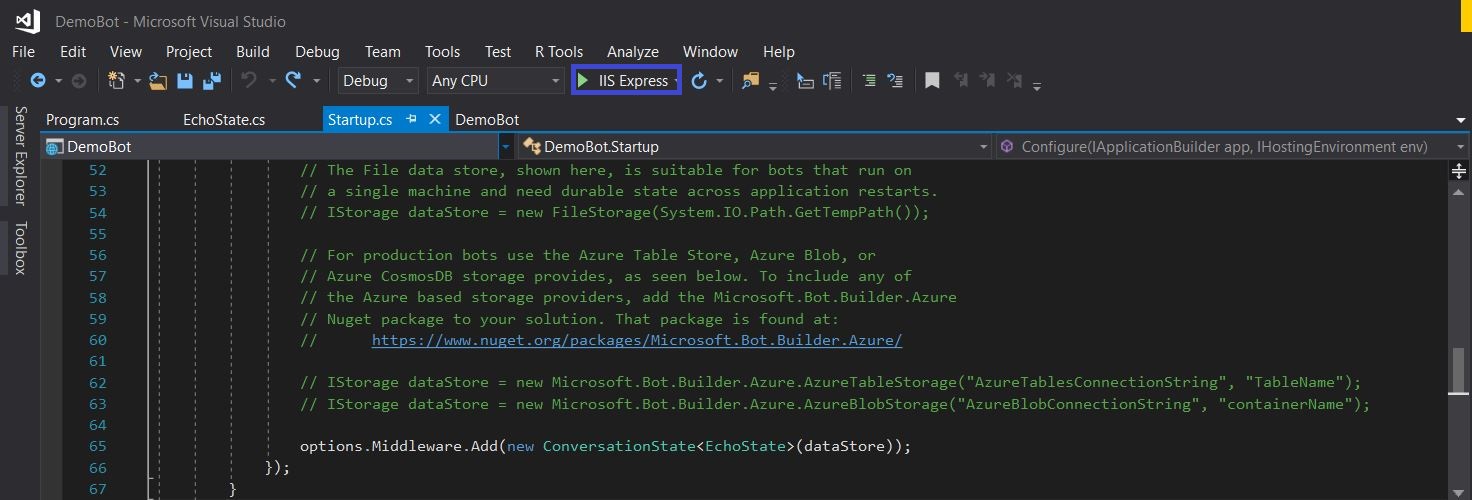
public class EchoState{ public int TurnCount { get; set; } = 0;}This is a simple class which has a property TurnCount which stores the sample state. This is stored in memory of machine running it. A more detailed state control and manage. We can use custom databases or caching servers to set up caching. We can explore it at a later point of time. The state is managed using following code while configuring the botservice
options.CredentialProvider = new ConfigurationCredentialProvider(Configuration);IStorage dataStore = new MemoryStorage();options.Middleware.Add(new ConversationState<EchoState>(dataStore));
We will discuss various middleware options available in later posts. The code can be understood in more detail by going through the code comments. We will create a working demo from scratch in next blog post. Let us just limit ourselves to the setup.
Adding Bot Builder SDK
The SDK features can be added to the BOT by using the NUGet Package manager or Nuget Package Powershell command console. Let us add it using the command window as shown below.

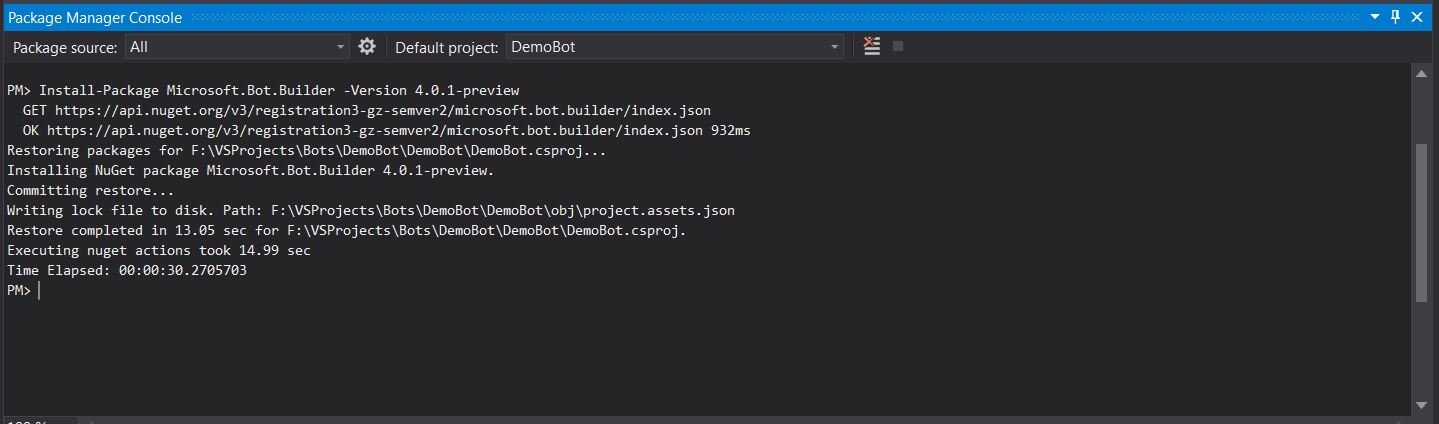
we will not use the features of the Bot Builder SDK in this post, but this is the way we will add the Bot Builder SDK features to our bot code from here onward.
Bot Emulator
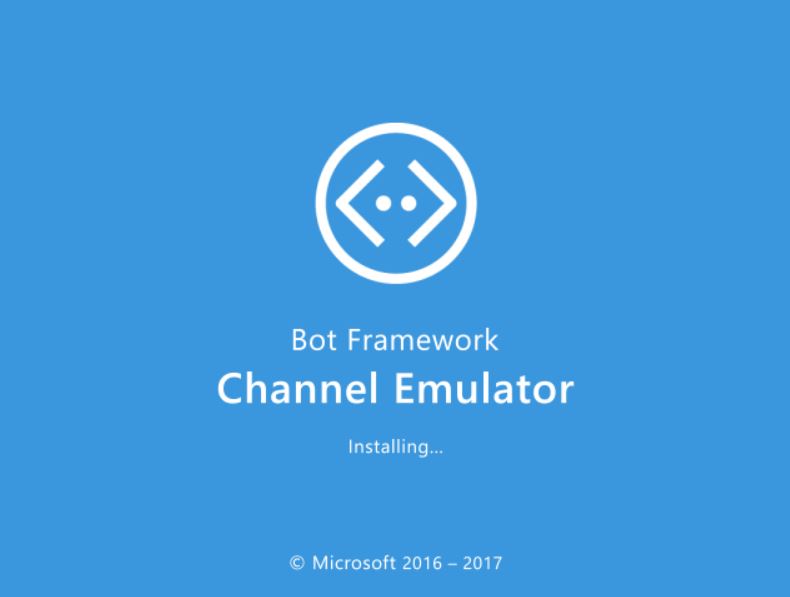
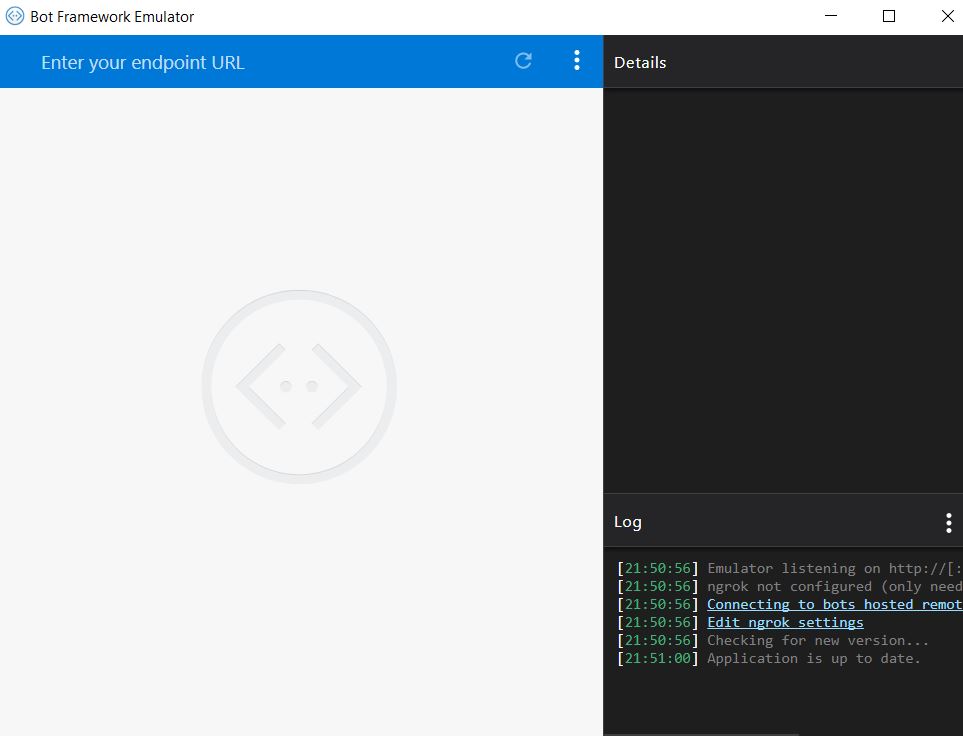
The EchoBot can be run locally and debugged using the Bot Emulator. Once we are sure that the bot is working as expected locally, we will publish it to the Azure portal to test it there. The bot emulator can be downloaded from the GitHub page for the bot emulator located at : Bot Emulator . I am using the 3.5.36 version of the bot emulator which is the latest released stable version of the emulator. It can be downloaded from the link shared above.Once the exe is downloaded, it will install and run the bot emulator as shown below.
This completes the basic platorm preperation for the developement for the bot. When we will need to add the bot framework v4.0 to our code so as to use the features, we will add it using the NuGet pacakge.
Running The EchoBot
Let us try running the bot. In the Visual Studio let us Start the bot using IISExpress as shown below.
Once we run the IIS express, it will open up a browser session which will serve as the temporary service end point for our bot. It will look something like following.
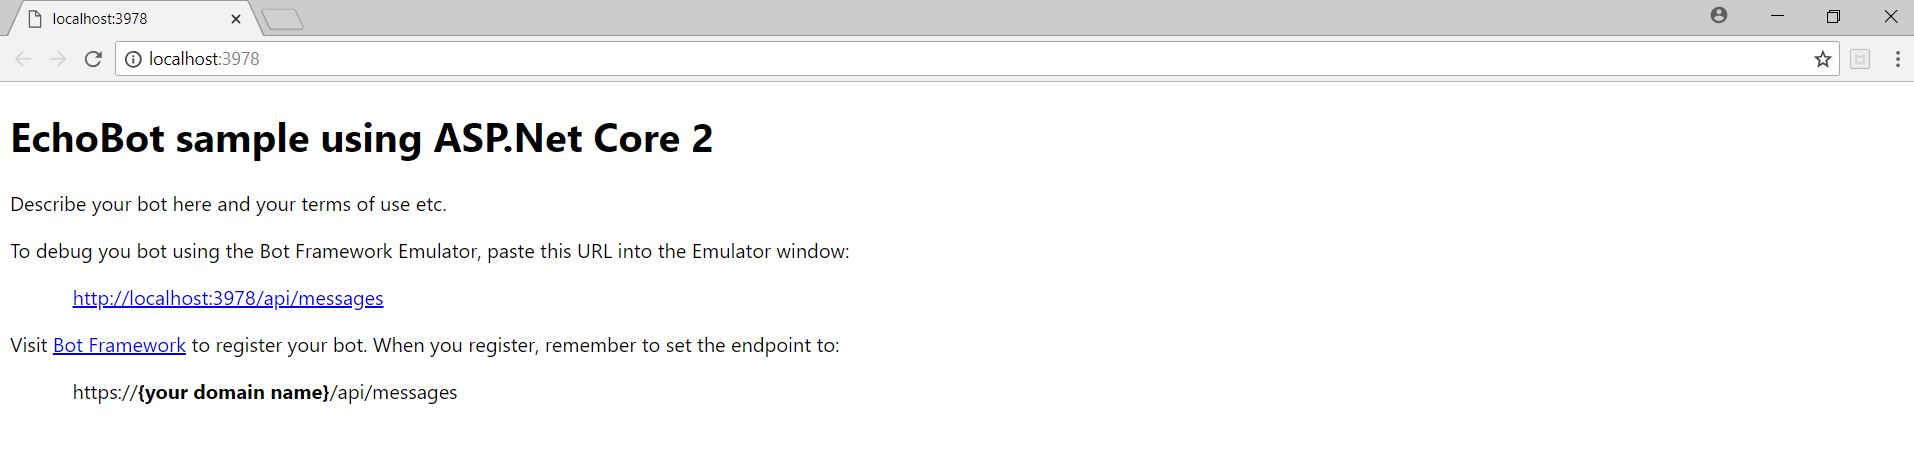
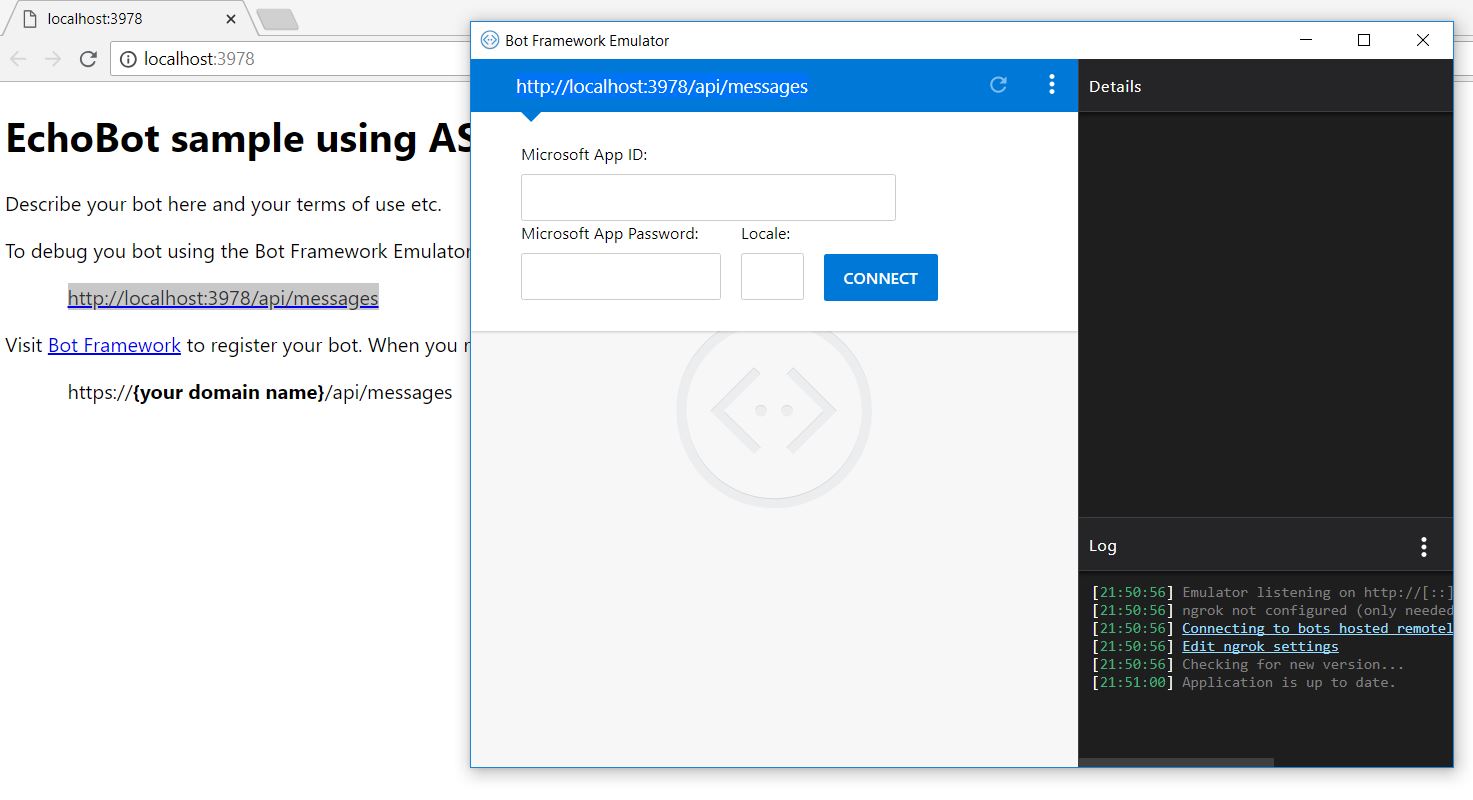
The endpoint localhost:3978 is defined in the application.json file in the project. Let us add http://localhost:3978/api/messages to the bot emulator. We will not worry about the application Id and the password at this point of time. These things are required when we want to test the bot registered on the Bot Portal. Click on connect and we are good to go.
Now let us test the bot. Following is the screen shot of the conversation I had with the bot.
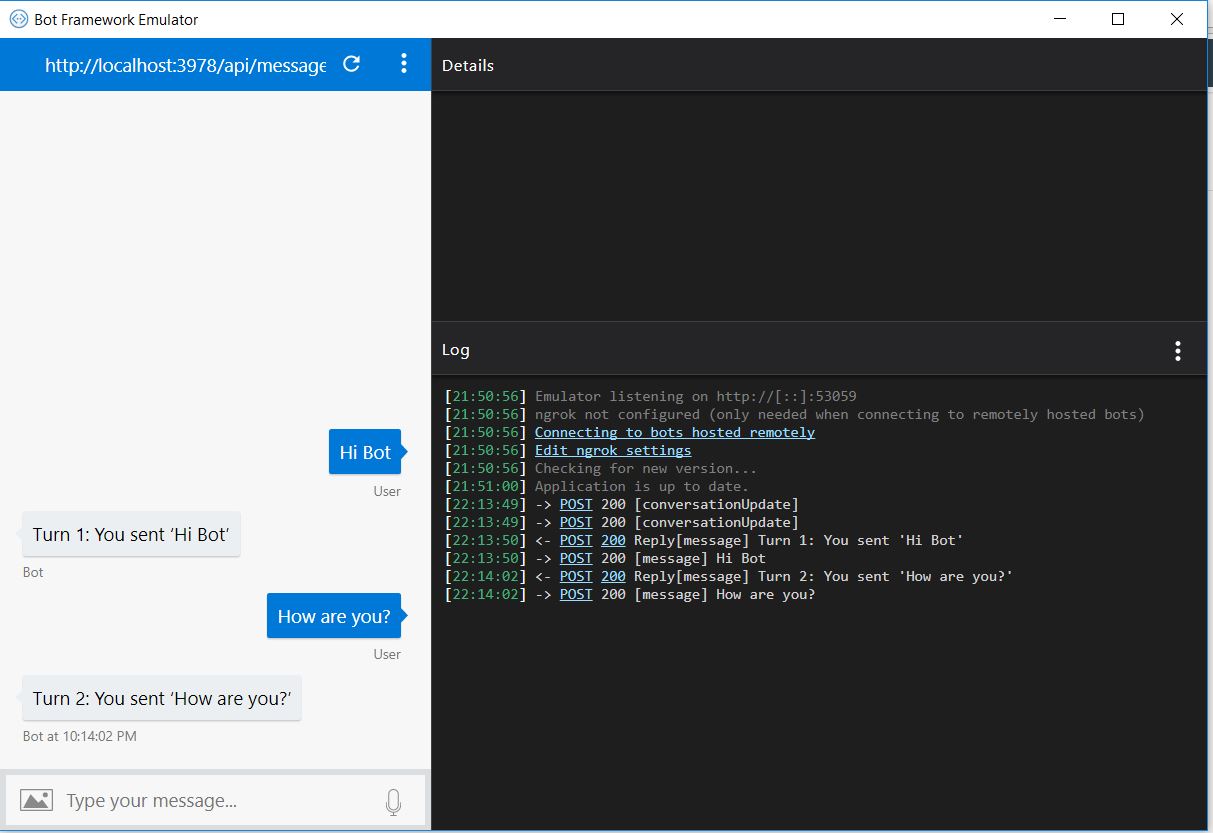
As seen the bot maintains the state and returns the value of the Turn along with the details that we sent. On the right hand bottom corner we can check the state of the conversation and the activity that is sent and received.
Conclusion
We saw today the basic of building bots using the bot builder sdk v 4.0 and how easy it is to set up the development environment for the bot. I hope to see you in the future posts in which we will explore the beautiful world of bot development.