Running POSTMAN collections in GitHub Action Workflows
Time to Read:6minutes
In my previous post Deploying and Testing Logic Apps with GitHub Actions, I talked about how to deploy the logic apps and test the HTTP triggered logic apps using POSTMAN. I wanted to write a separate blog on how to specifically test any REST APIs, SOAP or WCF services and how to generate beautiful reports and upload them as build results artifacts in GitHub Actions.
Before that let us go through some basic information on GitHub actions.
What are GitHub actions?
GitHub actions are the workflows that allow use to perform a set of actions when certain events occur on the repository. An event on repository can be as simple as "when a push is made to master branch" or "A pull request is raised on master branch". GitHub allows us to automate certain responses to these events using automated workflows called as GitHub actions. These actions react to one or multiple events and perform certain tasks e.g. "Build and Run the tests", "Deploy the code", "Merge the code from one branch to another". This is kind of a reactive programming approach where when a developer or admin performs some action on the repository, the GitHub action reacts to that and performs something.
We can build our end to end continuous integration(CI) and deployment (CD) for the code in the repository directly in the GitHub. The great thing that I find about GitHub actions is that there are lot of actions are available out of box for us and there are some custom ones developed and shared by the community which we can implement in our code.
Following terminology will come handy later during the post
Workflow: This is the automated process which will be run and can perform various tasks like builing, testing, publishing, deploying the code in the GitHub repository.
Runners: Runners are the machines on which the workflows are executed. These runners can be either the default runners hosted by GitHub or you can use your own hosted runners.
Job: Job is a set of steps that are executed on the same runner. It is there fore important for us to understand that all the processes that need data sharing must be clubbed under same job.
Action: Actions are the individual steps that are defined under a job.
For the purpose of this blog post, I am going to test the free Pokemon API. I will invoke this API through POSTMAN and run some tests on the results returned. All this is done using the postman collections. This collection then is run through the GitHub Actions workflow and the test results will be uploaded on to the actions workspace.
Let us look at various steps required to set up the POSTMAN run job inside the GitHub actions workflow. Even though this blog explains only the process to run the Tests, this process can be incorporated as a part of the Continuous Integration and then in each of the release pipelines for the Continuous Deployment or a step prior to release in the Continuous Delivery.
Setting up GitHub actions
Adding an ACTION
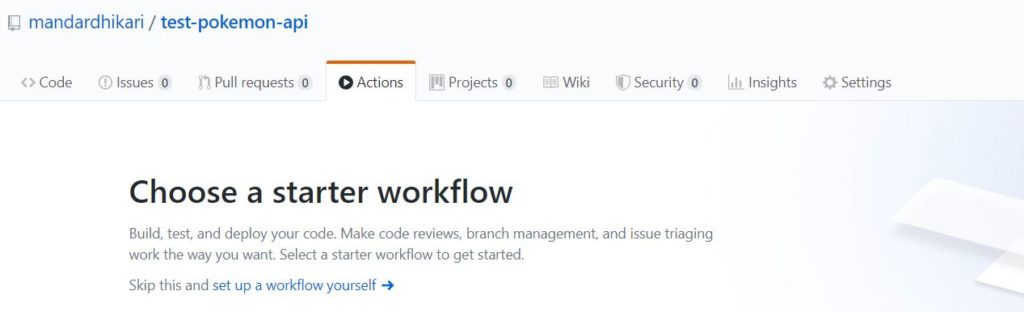
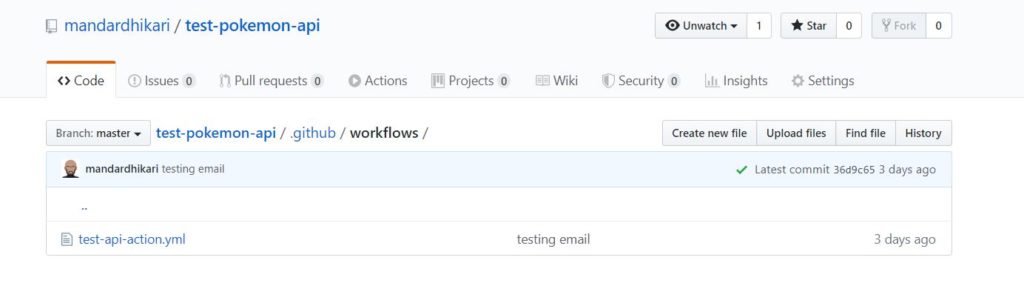
The actions are defined in a yaml file and are located in the .github/workflows folder. This folder structure can be created using as part of coding exercise or alternatively, the workflows can be created directly on repository using the Actions pane on the GitHub website. Following image shows how to create the action on the website.
Create Action Workflow on Repository on website directlyWorkflow location in repository
Workflow File
We start by adding the trigger on which our GitHub Action workflow will run. This is done in the yaml file as shown below
#Name of the GitHub Action
name: Test-Build

#Set the action on which the workflow will trigger
on:
 push:
   branches:
     - master
Above lines of code define the name of the workflow and the that it will run when a push event occurs on the master branch of the repository. Now we create the job which will actually run the POSTMAN collection.
jobs:
  test-api:
    runs-on: ubuntu-latest
Now we start defining the individual steps that will be executed inside the job.
Checking out the code
The code is checked out using following set of command
   steps:

    #Checkout the repository
    - name: Checkout Repository
      uses: actions/checkout@master
actions/checkout@master is the action available across all the runners and we can use actions offered by GitHub or developed by community.
Installing Node and Newman
POSTMAN can be run inside the CICD agents using command prompt utility called Newman. To install newman we first need to install node.js on the runner. It is done as shown below.
The newman-reporter-htmlextra installs a custom reporter which will generate visually appealing reports for us.
Directory for Test Results
As a custom in CICD process, we need a workspace to upload the artifacts generated during the run, these artifacts can be the logs generated by the agent, custom logs written in steps, test results etc. GitHub Actions provide a way to upload the files from the job to the workspace. The trick is to create a directory and upload the results to it. The directory can be created using following step.
- name: Make Directory for results
  run: mkdir -p testResults
Running the POSTMAN collection
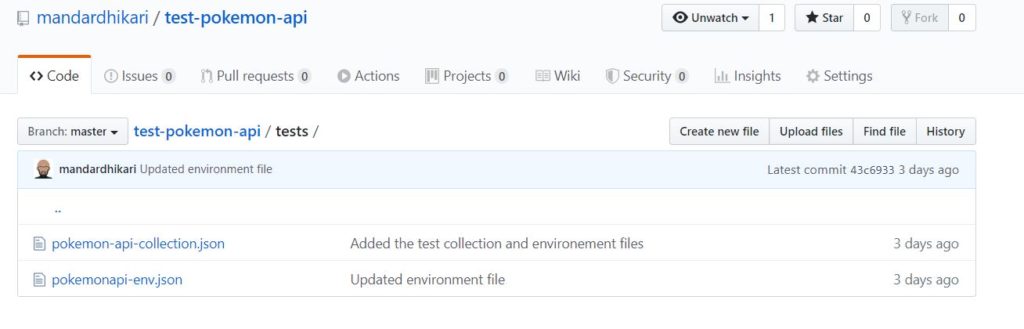
As the groundwork is now done, next task is to execute the tests defined in the POSTMAN collection. The POSTMAN collection and the environment files are available in the repository as shown below. We just need to provide the relative path to the root of the repository.
Test Collection in the repository
The step shown below executes the POSTMAN collection and creates the html report for the test run.
# Run POSTMAN collection and output the file as html
- name: Run POSTMAN collection
      run: |
       newman run ./tests/pokemon-api-collection.json -e ./tests/pokemonapi-env.json -r htmlextra --reporter-htmlextra-export testResults/htmlreport.html --reporter-htmlextra-darkTheme  > testResults/runreport1.html
Uploading Artifacts
As the last step we upload the artifacts to the workspace, it can be done using the actions/upload-artifact@v2 as shown below. We are uploading the entire contents of the testResults directory that we created earlier.
# Upload test results
- name: Output the run Details
      uses: actions/upload-artifact@v2
      with:
       name: RunReports
       path: testResults
This completes the workflow. The entire workflow file is as below.
name: Test-Build
on:
  push:
    branches:
      - master
jobs:
  test-api:
    runs-on: ubuntu-latest
    steps:
    # Checks-out your repository under $GITHUB_WORKSPACE, so your job can access it
    - uses: actions/checkout@v2

    # INstall Node on the runner
    - name: Install Node
      uses: actions/setup-node@v1
      with:
        node-version: '12.x'

    # Install the newman command line utility and also install the html extra reporter
    - name: Install newman
      run: |
       npm install -g newman
       npm install -g newman-reporter-htmlextra

    # Make directory to upload the test results
    - name: Make Directory for results
      run: mkdir -p testResults


    # Run the POSTMAN collection
    - name: Run POSTMAN collection
      run: |
       newman run ./tests/pokemon-api-collection.json -e ./tests/pokemonapi-env.json -r htmlextra --reporter-htmlextra-export testResults/htmlreport.html --reporter-htmlextra-darkTheme  > testResults/runreport1.html

    # Upload the contents of Test Results directory to workspace
    - name: Output the run Details
      uses: actions/upload-artifact@v2
      with:
       name: RunReports
       path: testResults
Testing
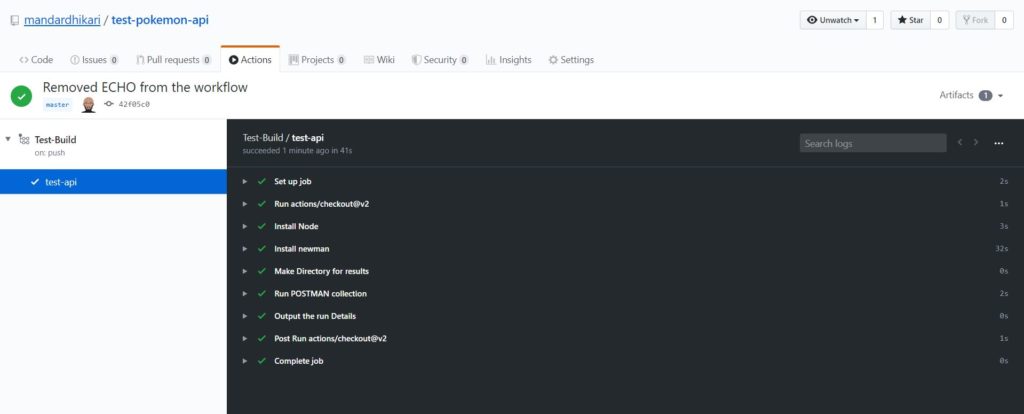
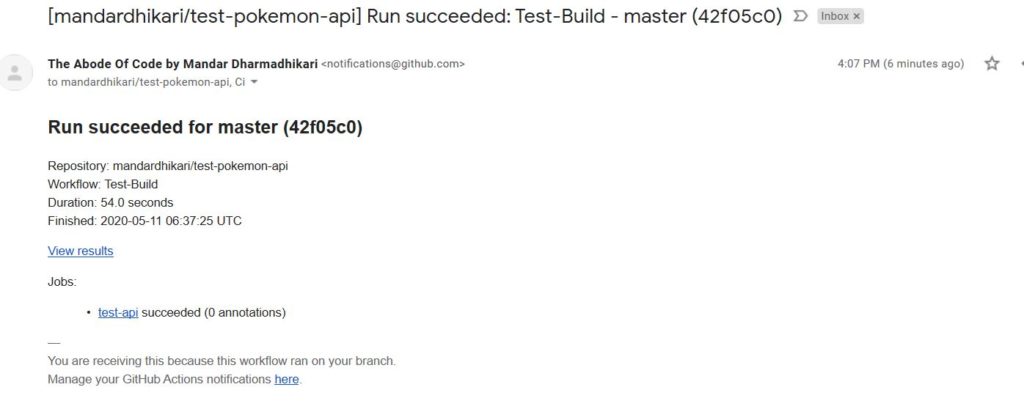
When a push is made to the master repository, the workflow is triggered. The output of each build is available on the Actions pane of the repository and we can drill down into each flow to see why it failed. In case of the failure, by default a notification is sent to the owner of the repository to notify them of the failed build. This behavior can be changed to send build success notifications as well. Following images show the result of the run and the output generated.
Successful build with Run Reports uploaded to workspaceSteps execution in a jobJob Success notification
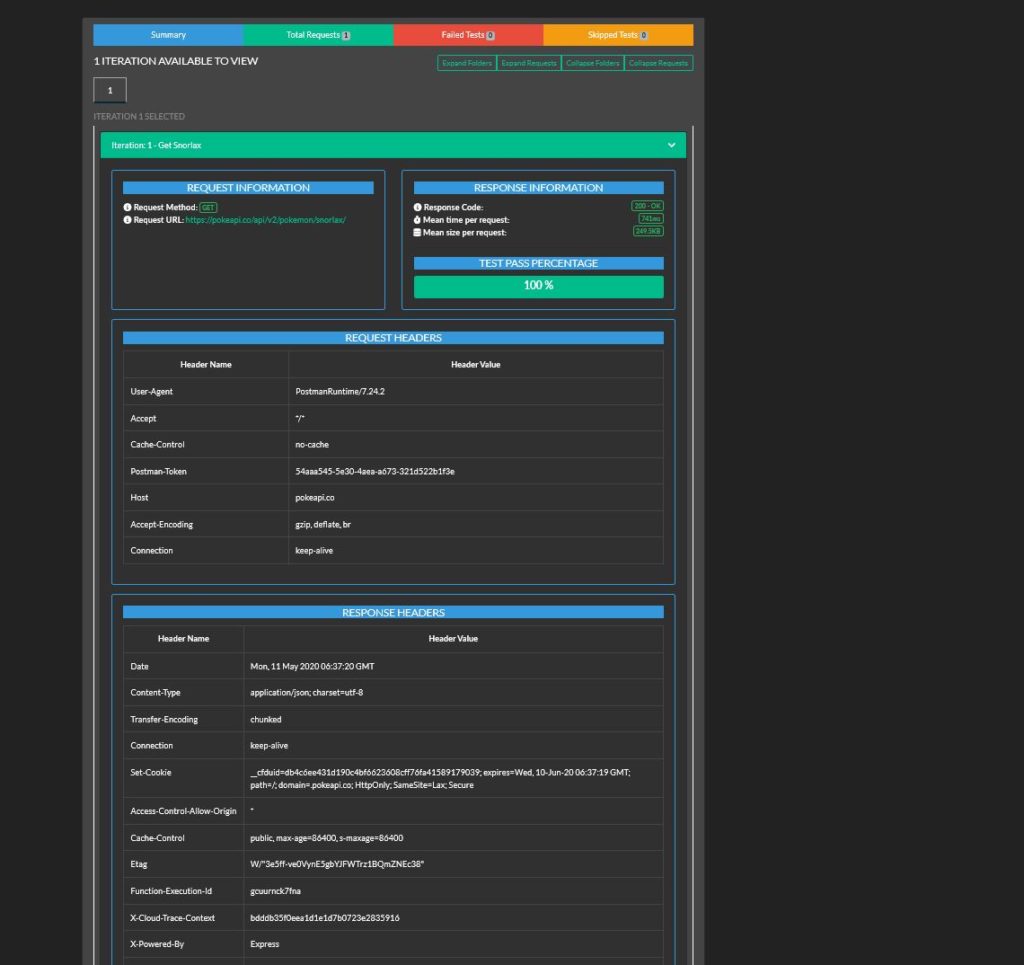
The html-extra reporter creates a beautiful report which allows us to examine the entire collection run. Few screen shots of the run report are shown below.
Run SummarySuccessful runs details
Wrapping up
In this post we saw how we can run the POSTMAN collections in the GitHub actions workflows and how we can create beautiful reports from the run. This sequence of step can be used in different CI CD scenarios.